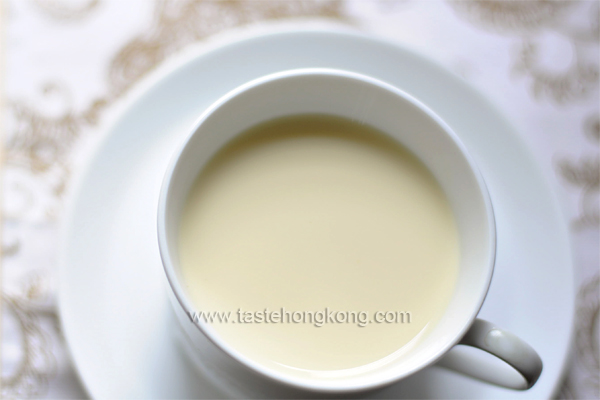
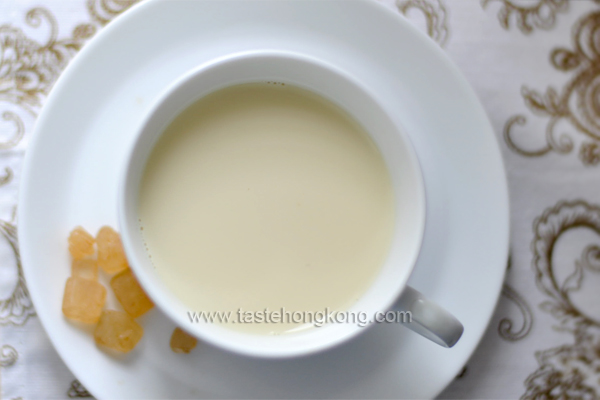
My memory could still tell. It was not that difficult making my first soy milk at home from scratch however I didn’t enjoy doing it that much.
After years, I am much happier with more or less the same steps, finishing the grinding and filtering tasks in minutes. Practices do help, more helpful are, I have with me the right tools and more importantly I believe they complement each other.
I have a feeling that many of you reading this post are already adept at making homemade soy milk. So don’t be surprised if you find no fancy equipment; with me are just a few ordinary kitchen gadgets but they makes straining much more easier.
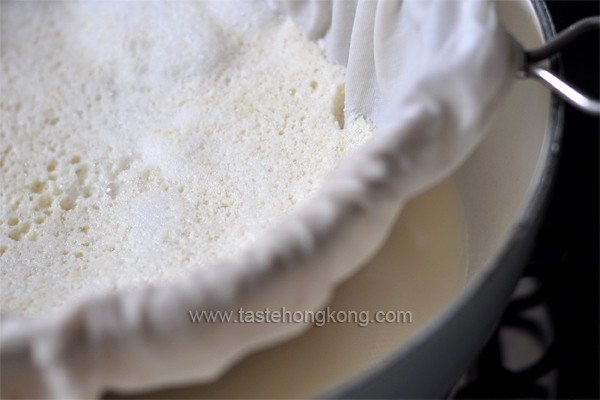
Draping one or two cheese clothes across a colander
I have a piece of very fine cloth which after draped across the colander gives no room for the bean pulp (okara), but the strained milk, to escape. If your cloth (or cheese cloth) is not fine enough, use two pieces which together shall help yield a smoother and creamier soy milk.
Matching colander with pot
This is my ‘semi-auto filtering system’. I rested the colander over a pot, which is about half the depth of the pot and it sat there securely while I repeatedly added in the blended bean paste. And a large part of the soy milk will automatically be strained from the colander. Only toward the end, I need to give the bean pulp ONE final squeeze (for the amount in this recipe).
Getting the right pot
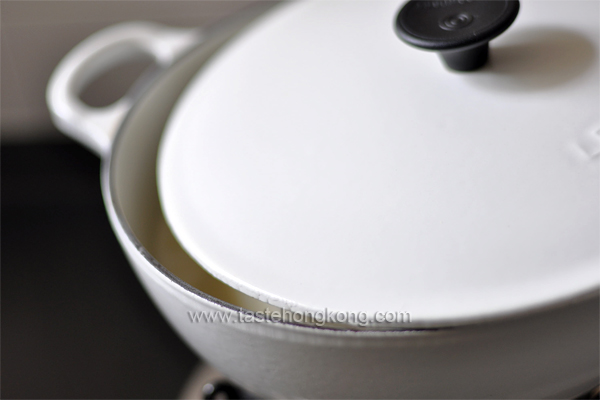
Soy milk may overflow easily as it is brought to a boil. So it is preferred to have a pot that is twice the volume of the raw milk. My cast iron pot does a good job for this even the soy milk fills two third of it.
Cleaning while boiling
I cleaned the blender soon after I strained all the milk in the pot and while started boiling it. Because when the remaining okara in the blender is still wet, it can easily be washed away by rinsing under running water, even without any detergents. As the remnants get dried, they turn stubborn.
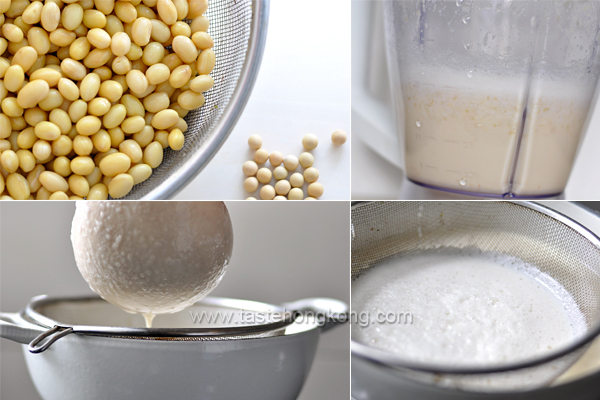
- Ingredients
- 1 cup dried organic soy beans
- 6-7 cups water
- sugar to taste (I use ~45g rock sugar here)
- Note: 1 cup dried soy beans after soaked shall swell into 3 cups
Method
Clean soy beans a couple of times, discarding hulls and dark-colored ones.
Soak soy beans with water (covering 2 cm above) overnight, about 12 hours. Drain beans, rinse them until water turns clear and discard any more hulls. Get a large container for soaking as the dried beans will soak up lots of water and grow more than double in size.
Pulse soy beans and water in blender in batches (1 cup soaked beans with about 2 cups water). Blend until you see little or no yellow particles, between 1 to 2 minutes.
Pour bean paste into center of the cloth and let it strain through the colander.
After the last batch of paste is poured into the colander, lift all sides of cheese cloth, forming a closed bag, but leave the colander as it is, and squeeze the remaining juice from the pulp. Having finished straining, gently lift and remove the colander. You shall see most of the soy milk foams are caught in it.
Over medium heat, bring the soy milk to a boil. I leave the cover ajar to monitor the status cause the milk when heated enough will turn foamy and easily overflow the pot.
As the soy milk just starts to boil, open lid and turn to low heat. Add rock sugar (if using); use a spoon to give some stirs occasionally to prevent browning at the bottom – because my soy milk in this recipe is rather thick. Keep boiling for another 5 to 10 minutes, when you shall smell the soy milk flavor.
Serve hot or chill. If stored in fridge, consume it within 3 to 4 days.
Enjoy!
Tip
Getting rid of beany flavor: Make sure the soy milk is thoroughly boiled, if not, you may taste some unpleasant raw smell of beans.
Saving the bean pulp or okara: Like rice pulp from rice soup, bean pulp can also be saved for adding into patties, porridge … or did I hear making waffles with okara?
Using rock sugar: Unlike white sugar for adding into milk or coffee, rock sugar has to be cooked with hot liquid to dissolve completely.
Cooking bean pulp
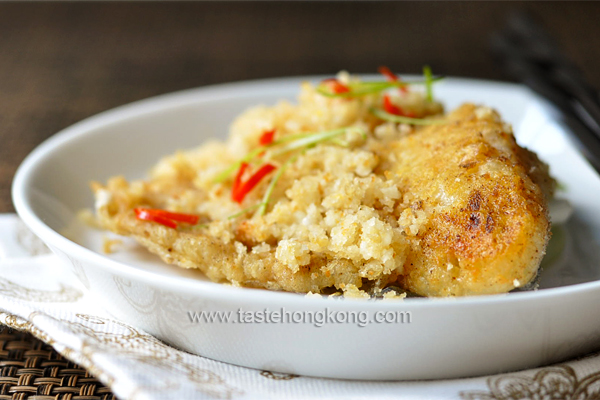
Update, August 26, 2011: I made soy milk again and reserved the pulp for making a savory dish, which is this Fish Fillet with Soybean Crumbs 豆酥魚.
An easier alternative
Also consider cooking Beancurd Skin Sweet Soup 腐竹糖水 which shall save you most of the steps. The dried yuba for making the sweet soup actually is made from soy milk.
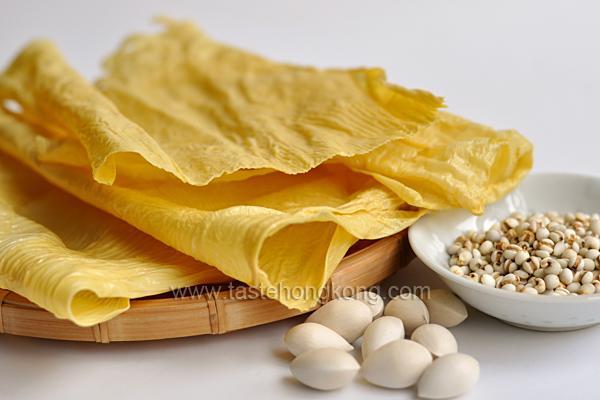
When soy milk is being boiled without stirring and its ambient is cool enough, you may find a skin form on the top. That is a fresh yuba.
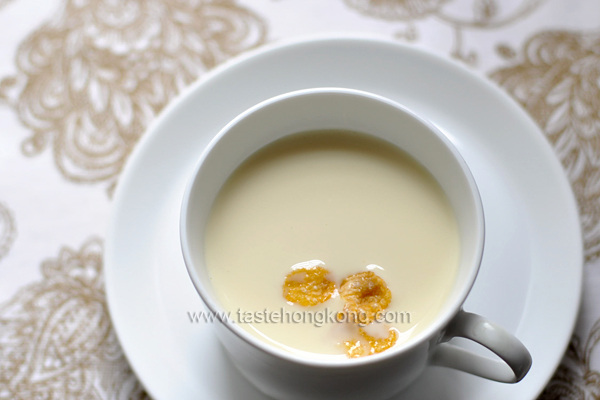
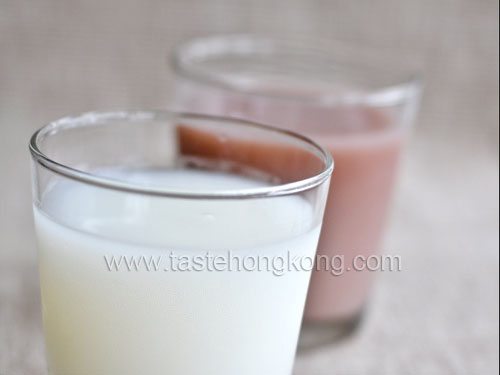
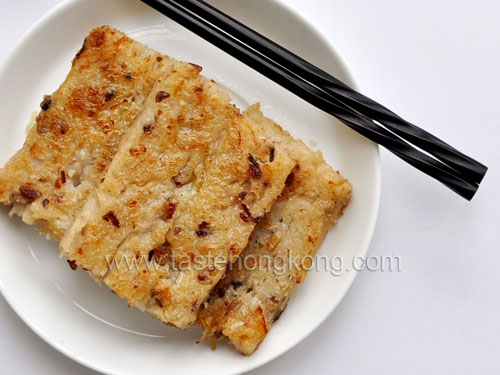
In H.K., We often drink soy milk as dessert and also like to enjoy it with Chinese cruller or sticky rice roll during breakfast. Recently, corn flakes also come as a good partner for my soy milk, with which I find them nicely paired with bread or toast.
Note that soy milk is free of the milk sugar (lactose) and is a good choice for people who are lactose intolerant. Also, it is a good alternative to those who are allergic the proteins of cow’s milk (soya.be) .
- Category: Bean / Legume .
- 39 comments
To get immediate updates and new recipes from my blog, you may also SUBSCRIBE them via RSS feeds. See you there.






Fantastic tips to help the process along. There’s nothing quite like fresh soy milk. Thank you!
My parents make their own at least once a week. I still prefer Vita Soy. LOL!
Excellent post on making this soy milk. I will be attempting to do one at some point.
@Melody Fury,
Thanks!
Whenever possible, let’s go for the fresh.
@slammie,
I drank more Vita Soy when I was young. Now, like your parents, I make more soy milk for myself and hubby, ha!
@Jerry,
Thanks!
Yes, go ahead and enjoy!
I once had fresh soy milk at a family friend’s place. The aroma was so wonderful. Thanks for the recipe!
My mom’s made soymilk at home before. Takes a bit of preparation but the advantage here is that you can be sure the best ingredients are used without artificial preservatives. And we have learned to enjoy the blander taste without sugar added. 🙂
@Life for Beginners | Kenny Mah,
Agree : ).
Hey… l want to make soya milk but doesn’t like to do it …until I get this incredible super machine called Thermomix (made in Germany ) using yr recipe. Your tip on making sure the milk doesnt flow out helps! Now I make soya bean milk once a week for family, friends and anyone wants to drink to soya milk in less than 30minutes!!
Check it out!
@cherie,
Thanks for giving me such a quick response!
I’m so glad that the tip helps.
This has been in my to-do list for quite some time. You reminded me again. I need to get some cheesecloth if not I will always have a missing “tool” that stops me from making this.
I use muslin (unbleached cotton fabric) to strain the soy milk. It is stronger than cheesecloth and I don’t have to worry about the cloth bursting when I squeeze the okara to get as much milk as possible 🙂
To minimize the ‘bean-y” aroma, I add some pandanus leaves while boiling (discard the leaves afterwards).
Love fresh soy milk without “unfamiliar” additives and preservative.
@Tuty,
Same reason why I love homemade soy milk.
Thanks for sharing your experience.
I love soy milk. On its own or as a dessert with gingko, barley and fu-chuk.
Your soy milk looks rich and delicious. Love the tips. In Singapore, we usually add a few leaves of pandan when simmering the milk for extra aroma.
oh YUM! Mister actually makes soy bean for me… LOVE it so much.
I love fresh soya bean milk like this… need to really try making some soon!
That is great I always wanted to make soya milk. I am defiantly trying this recipe.
I can’t wait to try this, thanks so much for the post! I bought my soy beans a long time ago because I love soy milk, but am not impressed with all of the other ingredients supermarket brand still put in them. One of my friends verbally gave me a recipe, but neglected to tell me the part about ‘boiling out the beany taste’, which was a little strong. When she asked me about it months later, she laughed so hard, she was like ‘gross, you didn’t drink it like that did you!?’ and the answer was ‘uh, NO’. I like your instructions better… thanks again.
@angelitacarmelita,
Thanks for your trust. Hope the soy milk has helped cheer you up.
Excuse me for this delayed response as I was out of town for a couple of days.
hi maureen, i have also made my own soya milk couple of times and can tell that it’s so much better than the ones i get from outside..only i find that the filtering is a very messy job! Never knew that its pulp can be used for other purposes too!
A real food from the source. I just loved seeing all the freshly made soy milk when we were traveling in SE Asia. In the States, it is pushed so much for health, but the variety we get here is nothing more than a processed food. I’d love to try making this if I can get my hands on soy beans. They are showing up at our markets now for use as edamame.
Very insightful post! You gave the proportions in such a clear manner – I shall know how much beans to get + great idea to use rock sugar.
[…] with me the right tools and more importantly they complement each other. (…)Read the rest of Homemade Soy Milk – Tricky yet Easy (880 […]
After boiling, there is something thick like cheese on upper layer..???Is it boiled more ?
@NB,
If it is a sheet formed on the surface, then it is normal. Check out the paragraph above, ‘An easier alternative … When soy milk is being boiled without stirring … ‘, you shall see the sheet in its dried form.
You may also read more about the ‘sheet’, beancurd sheet to specific, here.
Hope this helps, and enjoy!
Hi, I just started soaking beans to make soy milk (I’m planning to go on an expedition in Paris tomorrow, and there I’ll surely find luffa 🙂 ). I’ve already made some before, but reading your recipe made me wonder about the soy milk foam : you say that it has to be removed, while I thought it gave consistency to the milk, what do you think of it ?
I still didn’t manage to get a really “thick” soymilk though, so I’m wondering how to improve my technique. That’s why I carefully read your post, which is very clear and helpful (I think I didn’t blend enough the beans until now) ! Thank you for it !
That’s it ! I’ve made the soymilk according to your instructions, following them step by step faithfully…and it has turned out far more thick than it used to be with my previous trials (and the bean pulp far more fine). It’s so satisfying !
By the way, would you have a simple yet tasty recipe of bean pulp patties to share, in a few words ? Thanks in advance. Look forward to reading from you !
@Helena,
So glad that you find this satisfying. And thanks for your speedy feedback, before I manage to write back, excuse me! If you don’t mind experimenting with no measurements, try the soy bean pulp patties with eggs and corn starch/potato starch plus the seasonings of curry powder, turmeric powder, ground white pepper, sugar and salt (some chopped ham for added flavors). Before acquiring the taste of bean pulp, perhaps you may want to start cooking with a small amount first.
Have fun!
Also enjoy shopping with the gourd.
@Helena,
In case you don’t get used to potato starch, you may try to make the patties with flour and egg.
What a nice coincidence ! I just made the patties tonight and was thinking about giving you feedback. I used cornstarch and egg and seasoned them as you advised me to do (curry powder, turmeric powder, ground white pepper, sugar, salt, with a ratio of 4:2:1:1:2) but as I guessed you meant adding smoked ham, which I did not have on hand, I added the most resembling ingredient from my pantry : pork floss (which happens to be one of my most beloved asian foodstuffs), with an additional pinch of five-spice powder and…it turned out delicious ! Besides of it, I made some patties with dried shrimps (and no five-spice) but they turned out a bit too salty as I didn’t soak the shrimps beforehand. I also made a “plain soy” patty, and it was not so bad thanks to the seasonings !
To be honest, I didn’t find the taste of the soybeans unsettling, actually my only concern was that the patties were somewhat crumbly so I had to handle them carefully. I fried them with little oil on medium heat, about 5 minutes on each side.
I don’t know if it has something to do with the way you make these patties, but it suited my taste ! Thanks for the inspiration once more. However, I hope you may want to post your version of the recipe someday !
@Helena,
Your are full of ideas.
I hope too : ).
Thanks!
[…] Recipe for Homemade Organic Soy Milk – adapted from Taste Hong Kong […]
[…] clean cloth; place the colander over a bowl or pot to catch the liquid, strain juice from the pulp (photos) as much as […]
According to this article: http://pdf.usaid.gov/pdf_docs/PNAAG984.pdf
The best way to eliminate “beany” flavor and maximize nutrition is as follows:
1) Soak the beans overnight
2) The next day handle them carefully because any injury to the beans releases the LOX group of enzymes that is responsible for creating the “beany” flavor which is actually due to free radicals formed by the enzymes. Toss out the soak water.
3) Boil the whole beans in a 10:1 water:bean ratio by weight for no more than 10 minutes. This will inactivate the LOX enzymes. Scoop the scum off the top of the water.
4) Pour the beans and water into a sturdy blender and blend on high for at least a minute.
5) Pour contents of blender into a pot and boil for at least 20-30 minutes. This will further inactivate/destroy anti-nutrients such as trypsin inhibitor.
6) Strain through multiple layers of cheesecloth into an airtight, sealed glass container and either drink immediately or refrigerate.
7) Soymilk should keep for about 1 week. Maybe up to two weeks.
@Greg,
Thanks!
[…] makes any drink super healthy That’s anything but true, especially at Starbucks, where their soy milk is vanilla-flavoured and filled with sugar. Maybe that’s why your drink suddenly tastes […]
Thank you for the tips! I have a soy milk maker which I find extremely convenient but it’s great to know how to use the pulp. I use organic soybeans and like the fact that homemade soy milk is pure with no added chemicals or whatever is put in commercial milk. I want to try and make homemade tofu as well. 🙂
I tried to do this but, i observed smell and slight yellowish color of soy milk. Why we use Sodium Bi carbonate or Potassium Bi carbonate during soaking ? Please suggest how should i remove odor and yellowish color.
@Parikshit,
I use only water for soaking. If you too discard the water and rinse the beans after soaking but the odor still present, then it could be the beans problem.
Note that if the milk is not thoroughly cooked, you may find it smell beany/raw too (the paragraph under ‘tip’).