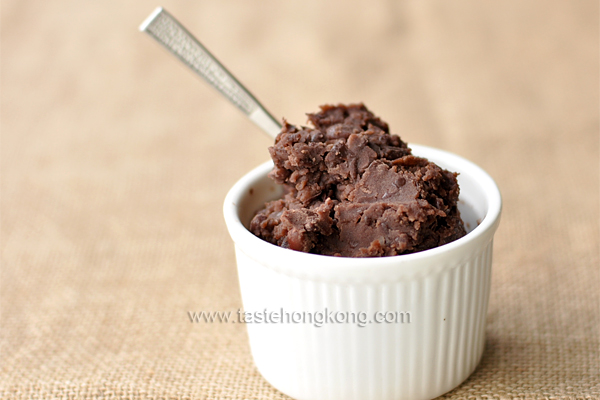
I truly like how I could control the consistency of homemade red bean paste, making it versatile for different uses.
Like peanut butter, red bean paste can be made two ways – chunky and pureed – even in the same steps. Sometimes, when I’m less precise, they would even give me an extra bowl of soup, a bonus which I too enjoy having it.
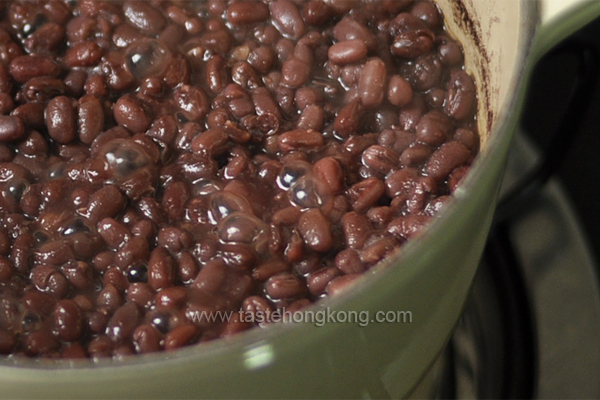
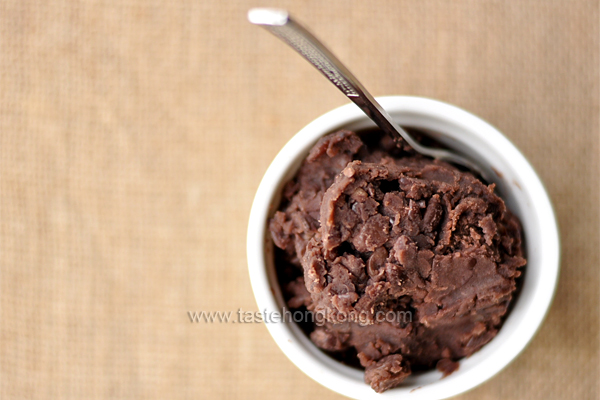
By chunky, I mean the beans, though might have exploded, still hold their shapes. But when gently mashed, they should be soft and chalky inside rather than having a firm core.
The preparation starts with soaking, hours of soaking. Although that might remove part of their vitamins and minerals, I also want my red bean paste to be free of pesticides and impurities. That is why apart from soaking, I also blanch the beans briefly.
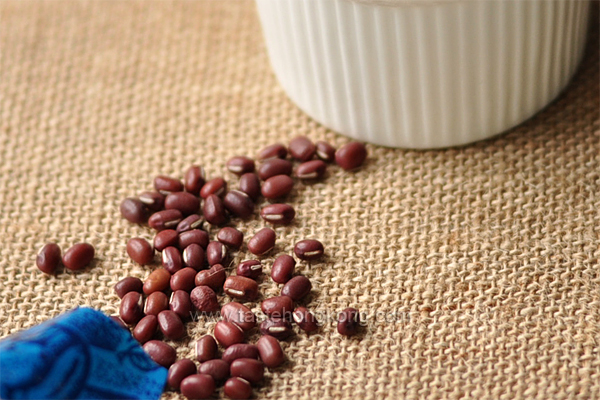
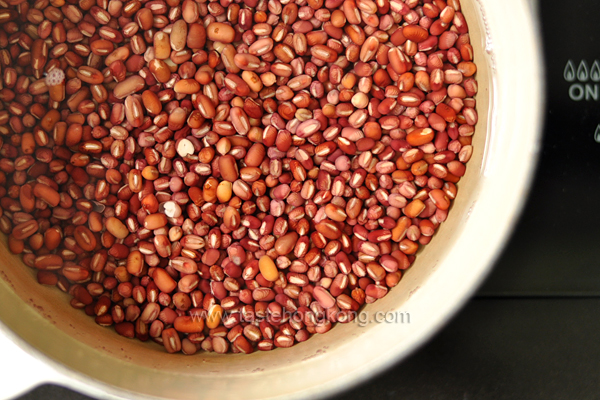
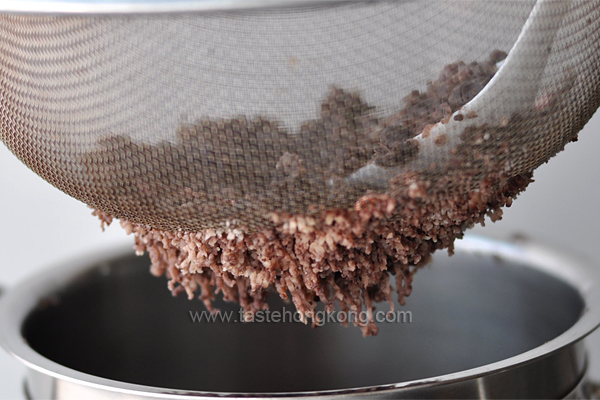
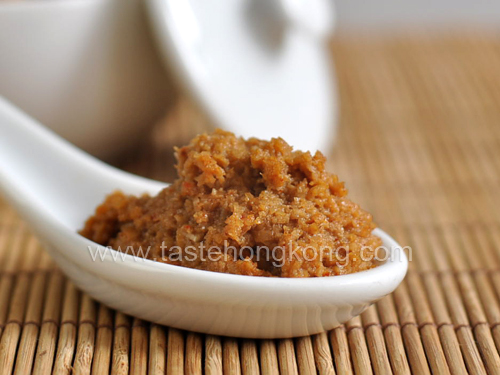
After soaking and boiling to the right consistency, we are also almost there having our red bean paste ready. For a smooth texture, we will need to puree the softened bean through a fine sieve before mixing it with sugar (or syrup).
Pureed red bean paste can be used in many Chinese recipes. I like it in dumplings (tong yuen), in buns, in crepes and even in puddings.
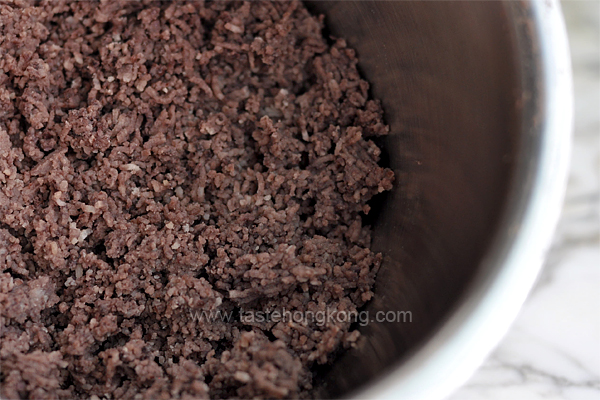
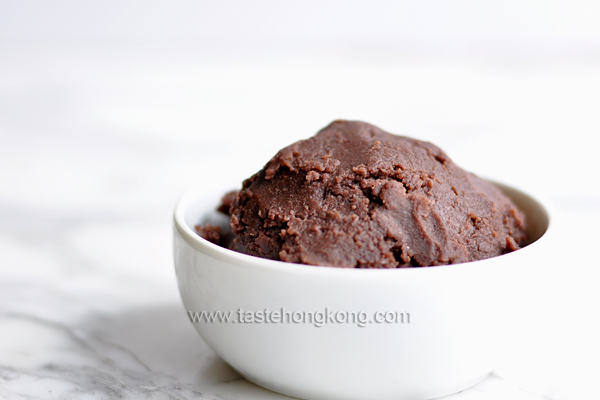
One cup of dried red beans shall yield about two to 3 cups of (loosely packed) cooked beans. Its volume, however, will be reduced by half or more after pureed.
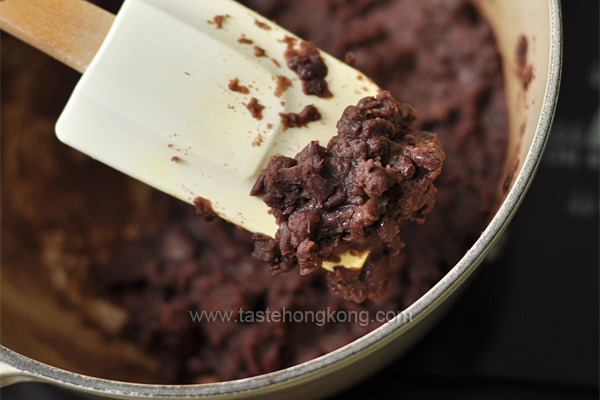
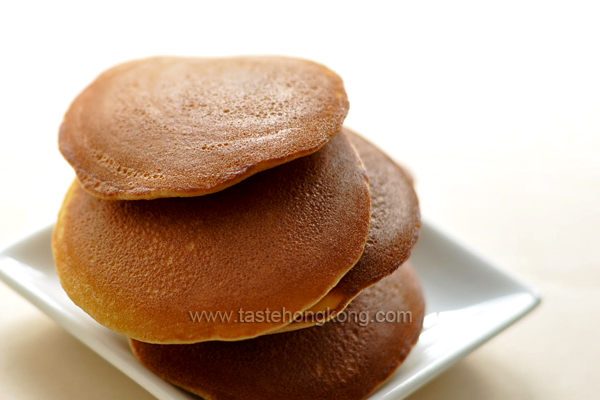
I just harvested one cup of cooked beans out of the three. But instead of making it into a fine paste, I retained its chunky texture for filling my dorayaki, a Japanese pancake. The remaining was then stored in the fridge without the add of sugar, for which I have yet to decide whether to add it in a sweet soup to puree it into a smooth paste.
- Ingredients
- 1 C dried red beans (aka azuki beans)
- ~5 C water
- 1/4 tsp salt
- sugar or syrup to taste
- (I added about 4 tbsp sugar per 1 cup of cooked beans)
Method
Rinse red beans; sort out the bad ones – those discolored or float to the water surface. Cover beans by a couple centimeters of water and soak them for several hours (no less than 2 hours or per package directions). Discard water.
With several cups of boiling water, briefly blanch the beans for about a minute. Drain and discard water.
In a heavy bottom pot, add beans, salt, and water, bring them to a boil. Reduce to low heat and simmer until one-tenth of the liquid remains. It shall take you about 1 1/2 hours (my cast iron does it slightly less than that). You may also want to check it out occasionally to make sure there is no spilling and the liquid does not dry out. A trick I often employ to avoid frequent checking is to add more water and to leave the cover ajar. As a result, I gain some extra bean liquor good for making a sweet soup.
For a chunky paste: Mix in sugar while there is about one ten of liquid left. Stir regularly to dissolve sugar, and simmer it to your desired consistency. Switch to medium heat if you want to speed up the process.
For a smooth paste: Drain cooked beans in a fine sieve or colander (save the liquid). With the back of a spoon or spatula, mash beans through the sieve and harvest them with a bowl or pot underneath. Return the fine paste to the pot and cook it with sugar as you would for a chunky paste.
If you are not time-pressed, a slow cooker (crockpot) may even help cook the beans almost effortlessly. Just cover the beans by enough water in the cooker and boil them until tender (I covered mine with about 4 cm water and cook them for about 6 hours). Transfer the cooked beans to a pot and continue with the remaining steps.
Enjoy!
- Category: Featured . Paste and Seasoning .
- 17 comments
To get immediate updates and new recipes from my blog, you may also SUBSCRIBE them via RSS feeds. See you there.


I like them a little bit chunky too…and homemade tastes so much better!
Lovely homemade red bean paste!
I often make red bean paste myself because you can fully control its consistency and sweetness.
Thrilled to know how to make this! I really enjoyed the red bean, green tea cakes we had from the bakeries in Hong Kong. If I remember correctly, the paste in those was pureed. Now I need to try making them on my own!
Like the idea of making my own azuki paste…thanks for the post.
Hope you are having a wonderful week 🙂
It took a while before I started to like red bean paste but now I look forward to having it in buns. Great tutorial for making it at home
hi. we,re going to try this recipe, after being in HK for a week now (of a 3 month stay) we’ve had red bean paste in all sorts of things. last night it was pumpkin croquettes with red bean paste inside.
I never thought of blanching my red beans to get rid of the impurities and pesticides. Great tips! I need to try out your the smooth paste version. 😉
I love red bean paste. really yum!
wow i just realised i’m so so so lazy lol i always buy my red bean paste because making it just seems too much work and effort 😛 but thanks for the recipe! gonna have to try it ~
wah, your home-made version of anything always look so darn good =)~
hi maureen, i really appreciate this post cos the packet ones usually comes in large packet and maybe some preservatives. i’m happy to hear that this can be done using slow cooker too 🙂
I am thinking of red bean paste dessert soup right now! . Your homemade version of the paste is so perfect as it sounds – chunky yet smooth.
I’ve often thought of making my own too, thanks for this. Have saved for another day.
Hey there. I’ve been looking up recipes for red bean paste. So many recipes require frying the paste in oil to dry it out. It grosses me out a little. Your recipe does not call for that. Any idea if there is any difference? Thanks!
@Jayne,
For adding smoothness or for blending other ingredients (and their flavors) during frying, just a wild guess.
[…] it in a food processor or blender), or in a plastic packet. If you can’t find it, you can make it from scratch instead, but it’s an awful lot of trouble. If you make it from scratch, don’t skimp on […]
Aloha, I would love to make home made azuki bean paste. President Obama and I, in addition to thousands of others, love the same shave ice shoppe in Kailua, Island Snow. At the bottom of the shave ice cone they place azuki bean and vanilla ice cream, topped with shaved ice and your syrup flavor of choice! Ono!