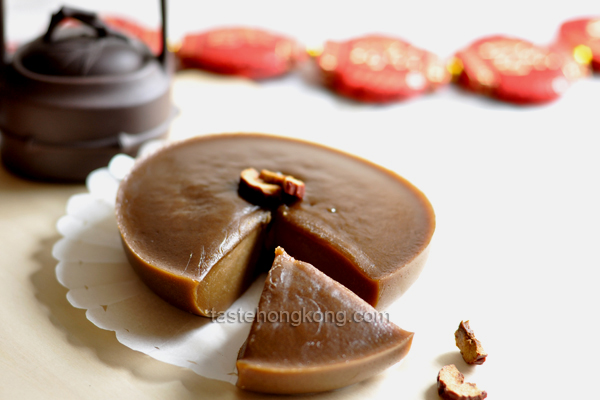
Kung Hei Fat Choy 恭喜發財!
When Chinese Lunar New Year comes around, not only do we eat for taste, we also eat for luck (or superstition?). And it has always been cakes – very often pudding-like cakes .
Sweet or savory, they are collectively named 年糕 Lin Go (Cantonese) or Nian Go (Mandarin), both sound auspicious and means ‘reaching higher (better) every year’.
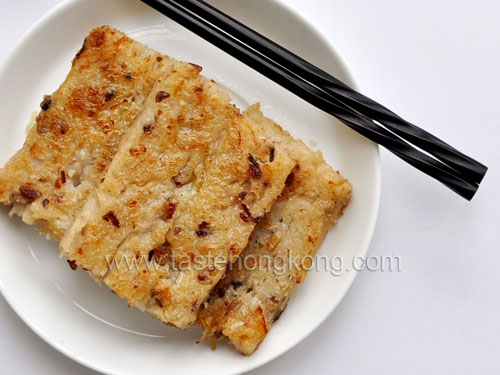
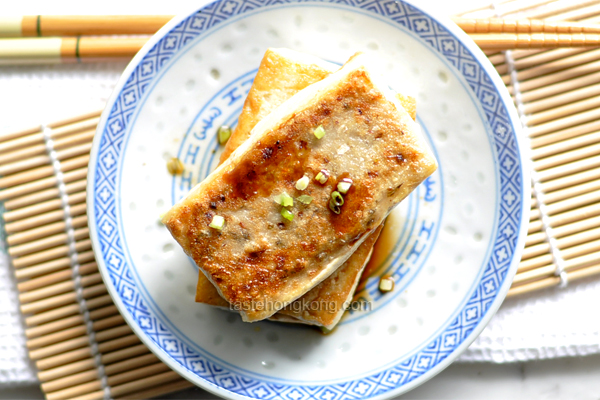
It is not a bad idea to enjoy the sticky rice cake right away as it is steamed, but I have get used to eating it pan-fried with beaten egg(s).
Does it sounds familiar? Yes, it is the type of sweet Chinese leen go (pan-fried coconut sticky rice cake 煎椰汁年糕 ) that you may find in many Cantonese dim sum restaurants.
So don’t limit this as a Chinese New Year treat, just enjoy it any time you like and have luck all year round! All you need is just four ingredients: glutinous (sticky) rice flour, rice flour, slab sugar and coconut milk.
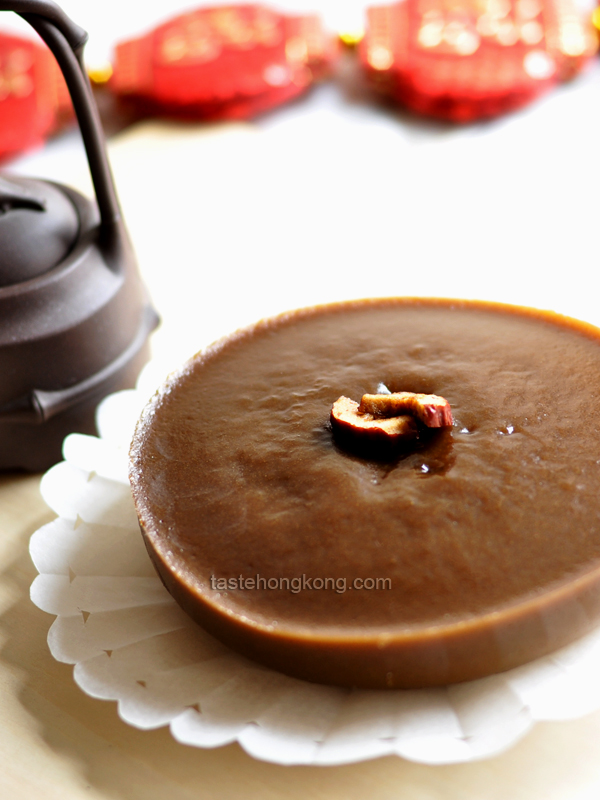
The old-school recipe calls for same weight of sugar to flour, I have reduced the ratio from 1 to 1 to about 0.8 to 1, that is, mine is on the lighter side.
This is a Chinese recipe though, I bet you will find the steps – kneading, resting, and sieving – similar to those as we would do it for breads and cakes.
- Ingredients
- 300g sticky (glutinous) rice flour
- 40g rice flour
- 280g Chinese slab sugar (蔗糖)
- 330ml water
- 100ml coconut milk
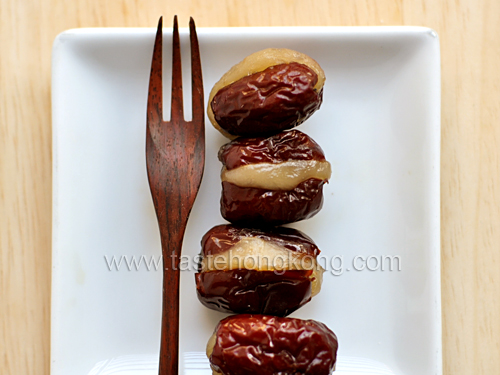
- 1-2 pcs red dates, optional, for decoration
- 2 eggs, beaten (for 2 cakes)
- yields two 13 cm cakes of about 3 cm thick
Method
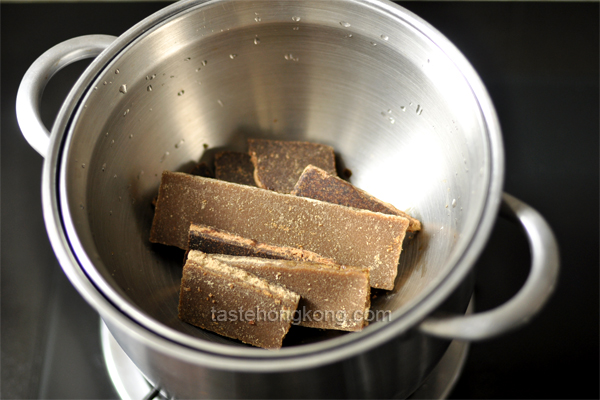
Melting sugar
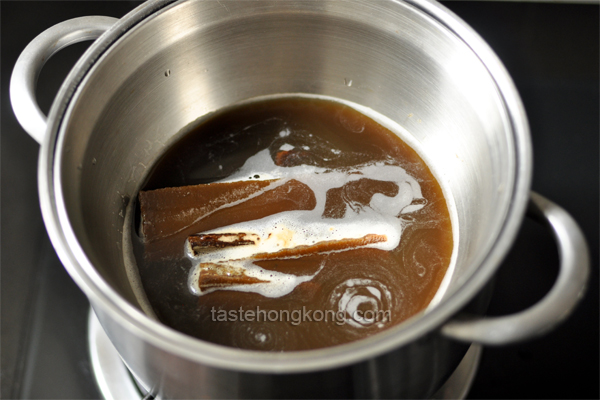
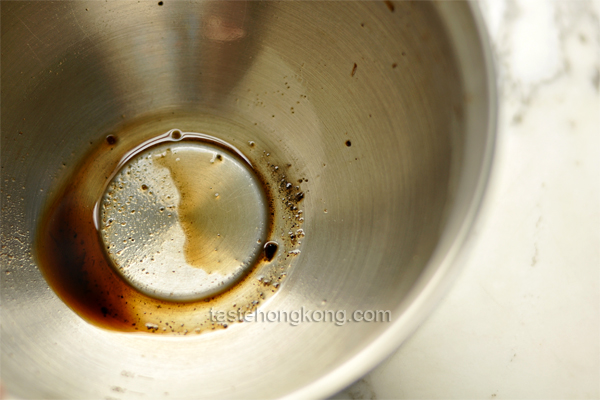
Put sugar in a heat-proof bowl with 330ml of water, sit it over a pot of simmering water and heat until sugar is dissolved, stirring to speed it up (suggest using indirect heating method because liquids don’t evaporate as much in directly boiling).
Let mixture cool to about 35-40 degree C.
Sieving flours
Sieve flours in a mixing bowl, add warm sugar water mixture little by little until the mass combine together.
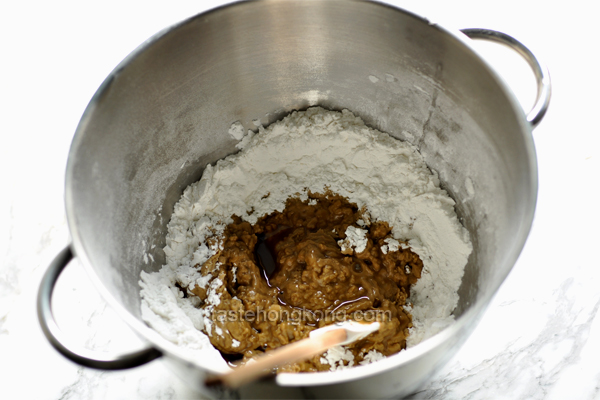
Kneading and resting the dough
Knead the dough for about 5 to 10 minutes by hand until the flour is smooth and pliable. Cover with wet towel; let it rest for no less than an hour. I rested mine for about 2 to 3 hours.
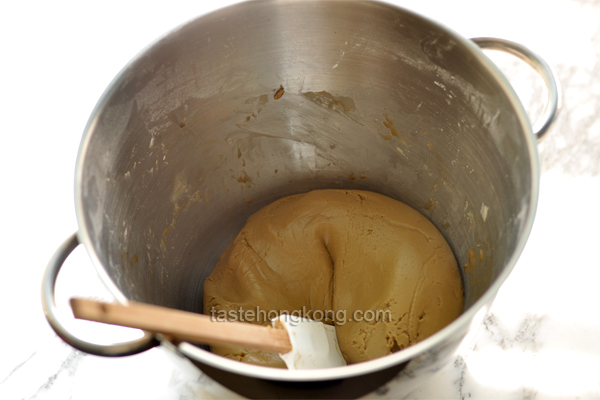
Final mixing
After resting the dough, add remaining mixture, about 170ml (except the very last bit that contains any impurities).
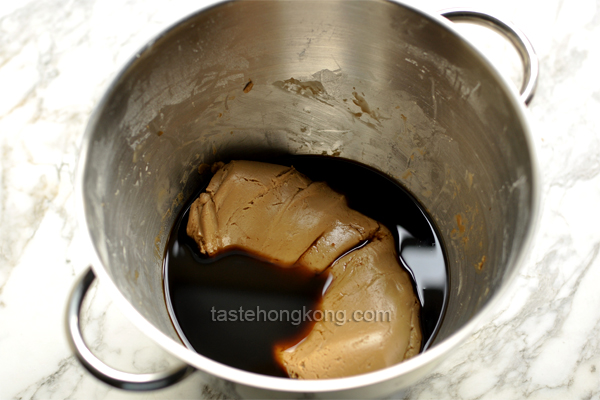
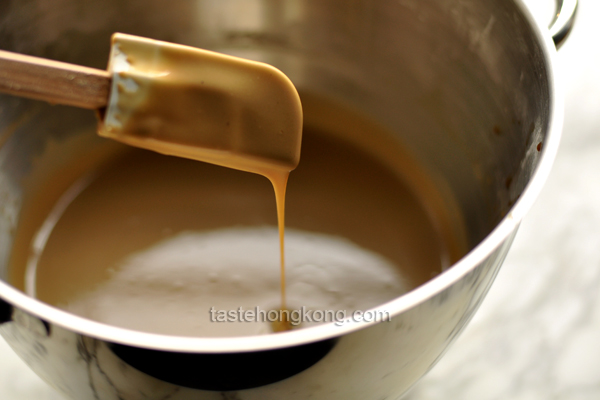
Stretch and massage the dough in the liquid with your fingers, until it starts to ‘melt’. Then, add coconut milk, stir and mix them to form a thin and smooth batter. Or, with a standing mixer, knead on low speed until the dough and liquid are well combined, again forming a smooth batter.
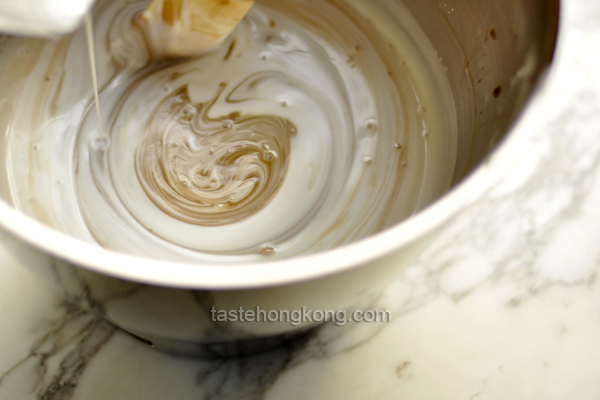
Most slab sugars (the Chinese brown sugar bars made from sugar cane) produced the traditional way contain impurities. So you may want to let them sink to the bottom than stirring the mixture when adding it into the dough.
Steaming
Bring water in a steamer to a boil.
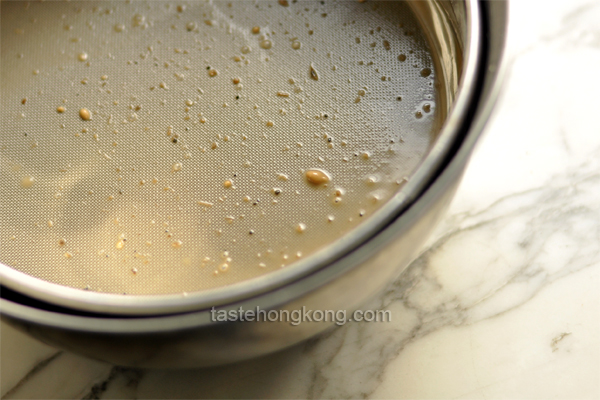
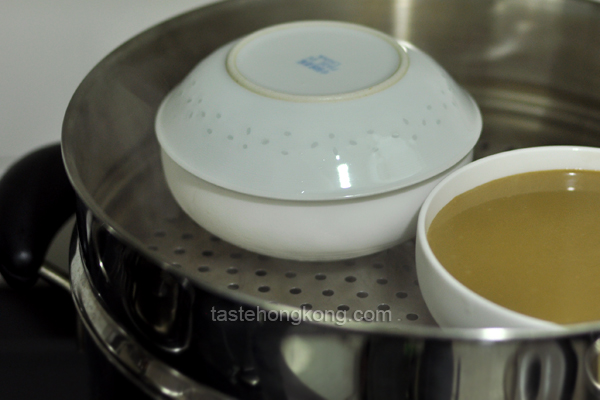
To make a smooth cake, pour the batter through a fine sieve into greased cake molds sit in a steamer (I used two steam-proof deep dishes and greasing them makes it easier to remove the cake from them ).
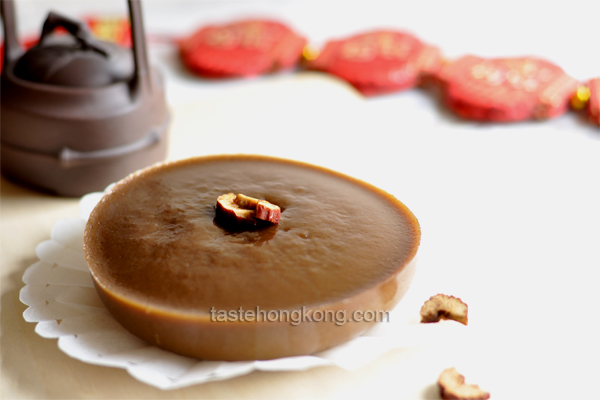
Cover dishes with plates or foil; steam over medium heat for 30 to 35 minutes. Decorate with red date(s). You may test doneness by inserting a tooth pick into the center of the cake. It might not come out perfectly clean, but any thing stuck to it should not appear watery.
Serving
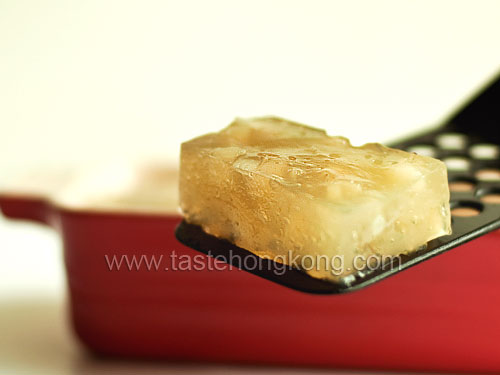
Let cool to room temperature after steamed and cut into bite size wedges and serve (the cake will be fairly sticky to cut when it is still warm or hot). Alternatively, that is, follow the most popular way; cut into about 1/2 cm thick slices, dip into beaten egg(s) and pan fry until lightly browned on the outside and softened inside. I fried first side, on medium-low heat, for 1-2 2-3 minutes and the other side for another minute.
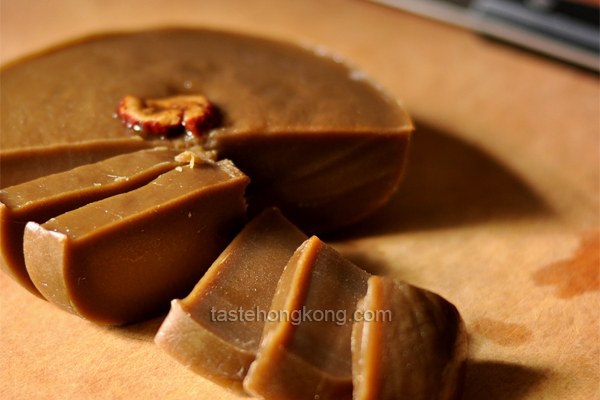
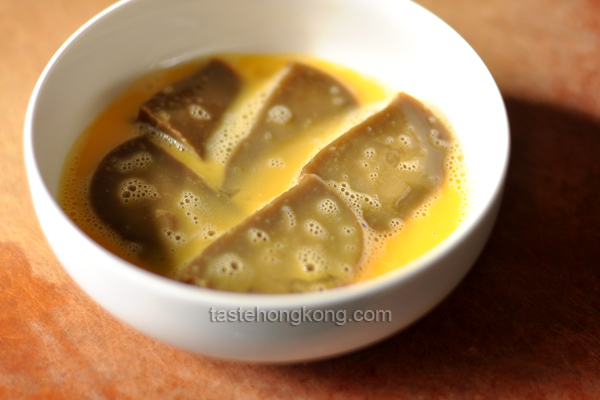
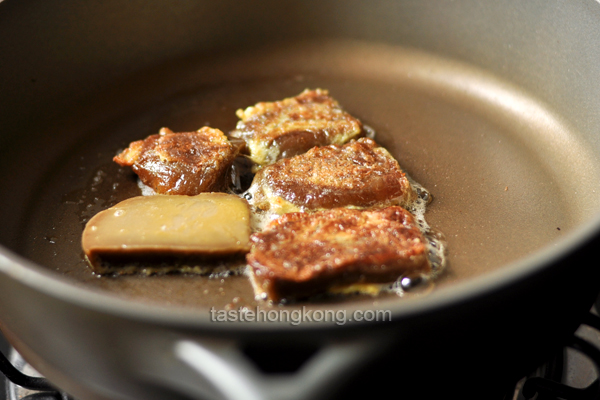
During Chinese New Year, it has been a habit that this cake is prepared in advance of the Festival and stored in fridge, which will then be pan-fried and served as required.
Before frying, however, it is better to sit the chilled cake at room temperature for a while.
Enjoy!
- Category: Egg . Rice and Grain .
- 14 comments
To get immediate updates and new recipes from my blog, you may also SUBSCRIBE them via RSS feeds. See you there.


[…] Turnip or Radish Cake with Chinese Sausages […]
I love Lin Go! My mom sticks to savory and makes turnip cake for Chinese NY but my sister in law’s mom makes a great Lin Go! I just love the sweet ‘stretchiness’ of it. Years back, I know we pan fried it with eggs but somehow it’s turned into plain pan-fried in recent year. I like it both ways. Your cakes came out beautifully and looks delicious!
@Monica,
Plain version is good too, but be honest with you, I like the beaten eggs there also because they will help ease the pan-frying (lin go will turn sticky when being heated).
By the way, it is easy to achieve that ‘stretchiness’ by kneading and resting the dough.
I totally hear you about the sticking!! But it is worth the pain. : ) That is so interesting about kneading & stretching the dough! It makes perfect sense to me. I’d seen a recipe the other week that had none of those steps and I thought it was too good to be true…I definitely want my Lin Go so stretchy that I can play with it like a piece of gum in my mouth. Sorry – sounds gross, I know, but I love that! : )
A classic! I love nian gao, esp. the pan fried one, which is great with afternoon tea.
I love this…especially the fried version…every year I look forward to eat nian go during CNY…yours look awesome…
Happy Chinese New Year my dear 😀
新年快乐! your home-made 年糕 definitely looks superior than the ready-made ones.
This is just beautiful! And the pan fried version is interesting. I bet it is delicious.
Yum, never heard of this but I think I’m gonna like it.
It is just different when you make it at home. The texture seems so fine and delicate. You must be very skilful (and patient!) 🙂 I am always after the pan-fried version with egg. It is a crowd-pleaser, always. But again, I guess when the rice cake is home-made, steamed ones will be also good cos it is so fresh!
Yum! I gotta try this!
Howdy there ! Hope you’re all well. Oh wow…you’re making your own nian gao. A quick steaming method. Looks easy! I thought it used be steaming it for hours & hours to get a really traditional nian gao. Kudos !
Hope you’re going to have a great week ahead dear.
Blessings, Kristy
@Kristy,
Thanks, you too.
Quicker because the cakes are smaller.
I made this! Followed the instructions to the T and the cake came out amazing! I have so many friends and relatives impressed by it. I was very delicious, THANK YOU!